
How To Design Creative MailChimp Emails
looking for ready-made email templates for Mailchimp? Check out our no-code email templates that are so easy to use and customize to your brand. Happy emailing! Shop Now ⟶
In the last year I've had the pleasure of working with several businesses – and my own businesses! – to design beautiful email campaigns and messaging that have secured high open rates and click-through rates. And y'know what that means? More site traffic and sales!
But it wasn't always this way. As a dedicated MailChimp user, I had grown accustomed to building out email campaigns within the platform's campaign builder and was never fully satisfied with the look and feel of my email campaigns.
So I decided to find a workaround.
Keep reading for a step-by-step guide on how to design creative MailChimp emails outside of and within the campaign builder to create gorgeous email campaigns that look on-brand and lead to more conversions.
Step 1: Get set up InDesign or Illustrator
Depending on my specific design needs for an email campaign, I will begin a project in InDesign if it's more straightforward, or Illustrator if it requires more custom illustrator and text modifications.
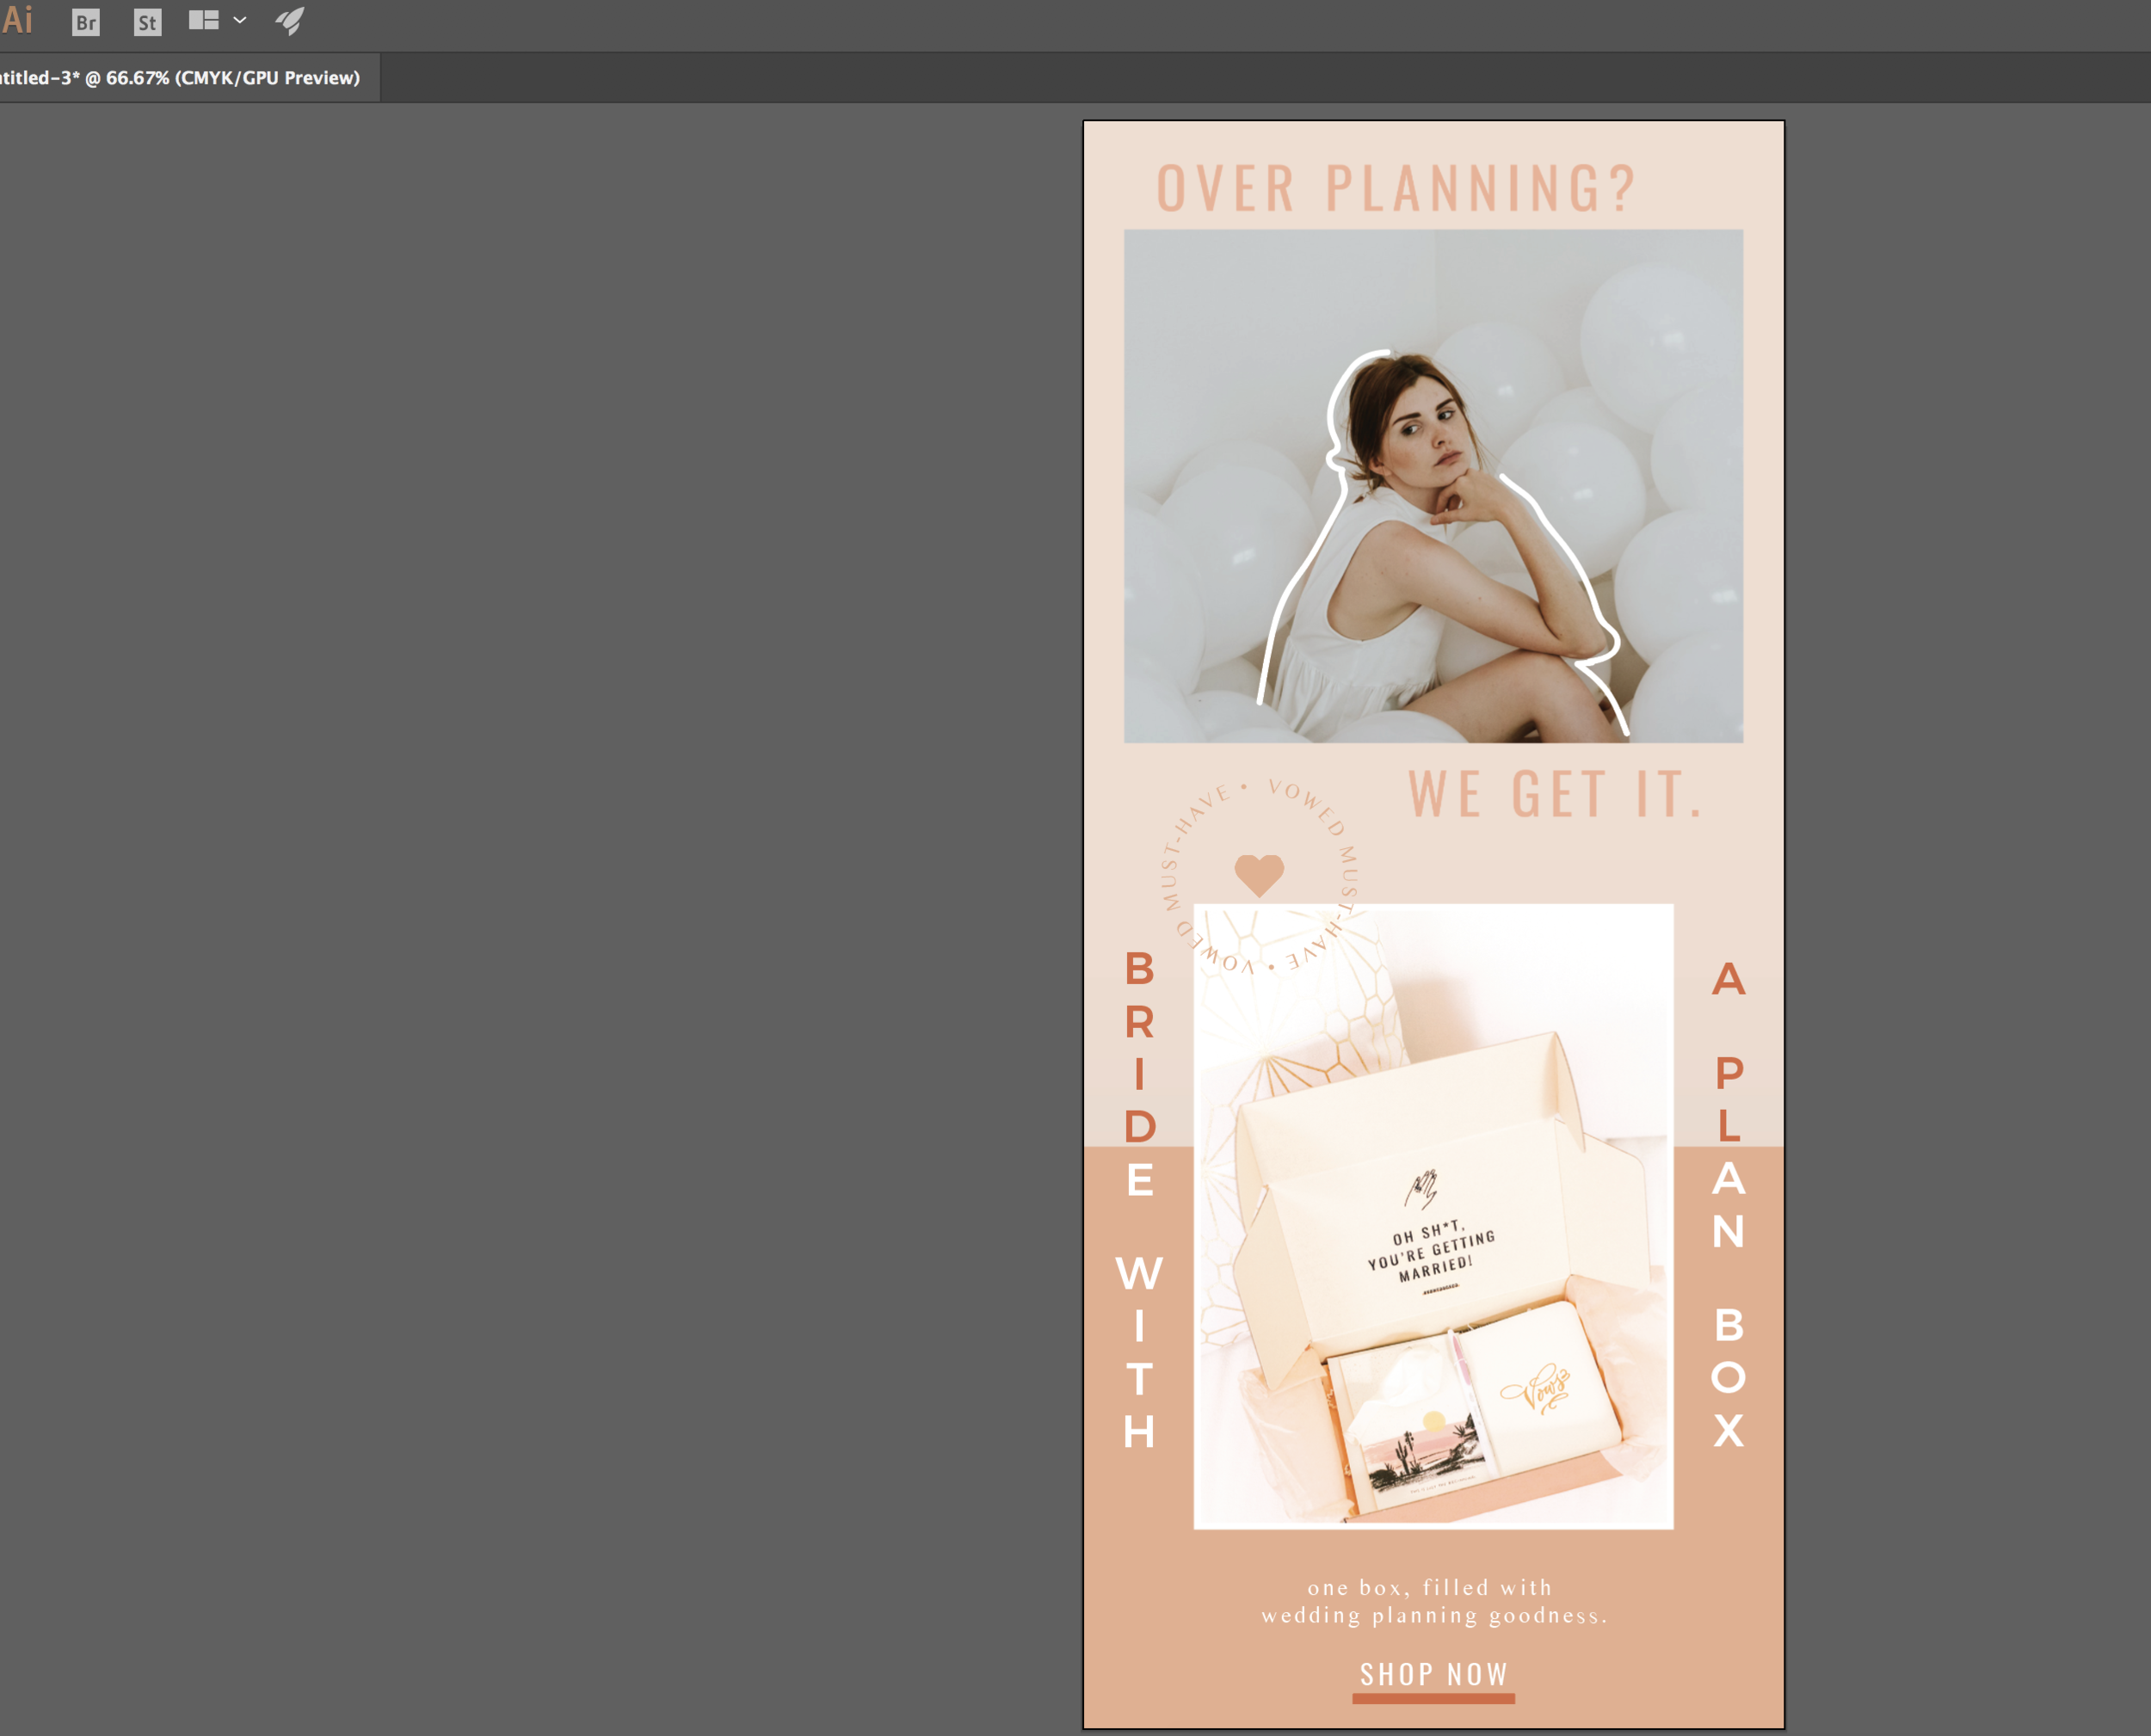
Once you're in either program, set the size of your email campaign. For MailChimp, the recommended max width for email campaign creative is 600 pixels, so keep that in mind when setting up your work area. In this example campaign shown, it's sized to 600 pixels wide by 1800 pixels tall.
Step 2: Start Designing!
Now for the fun part: it's time to start designing your email. Now that you're designing outside of MailChimp, you'll need to keep a few things in mind:
• Think of each different linked portion of your email as its own piece. Since each piece of creative can only link to one destination, keep each piece of your email specific.
• Think of how many pieces of creative you need to create for your email. Personally, I like to keep my email campaigns simple: one "body" section that talks about and links to a specific promotion, one "footer" section that speaks to an ongoing product or offer and links to the homepage, and a social media icon section with links to each platform at the very bottom of the email.
In the picture below, this is a complete design of a "body" portion of an email campaign, that will link to a specific product on Vowed Box Co.'s website. Need a little design inspiration for your email campaign before you get started? Check out my Web Design Savvy board on Pinterest, where I keep a running catalog of email campaign designs that I find inspiring.
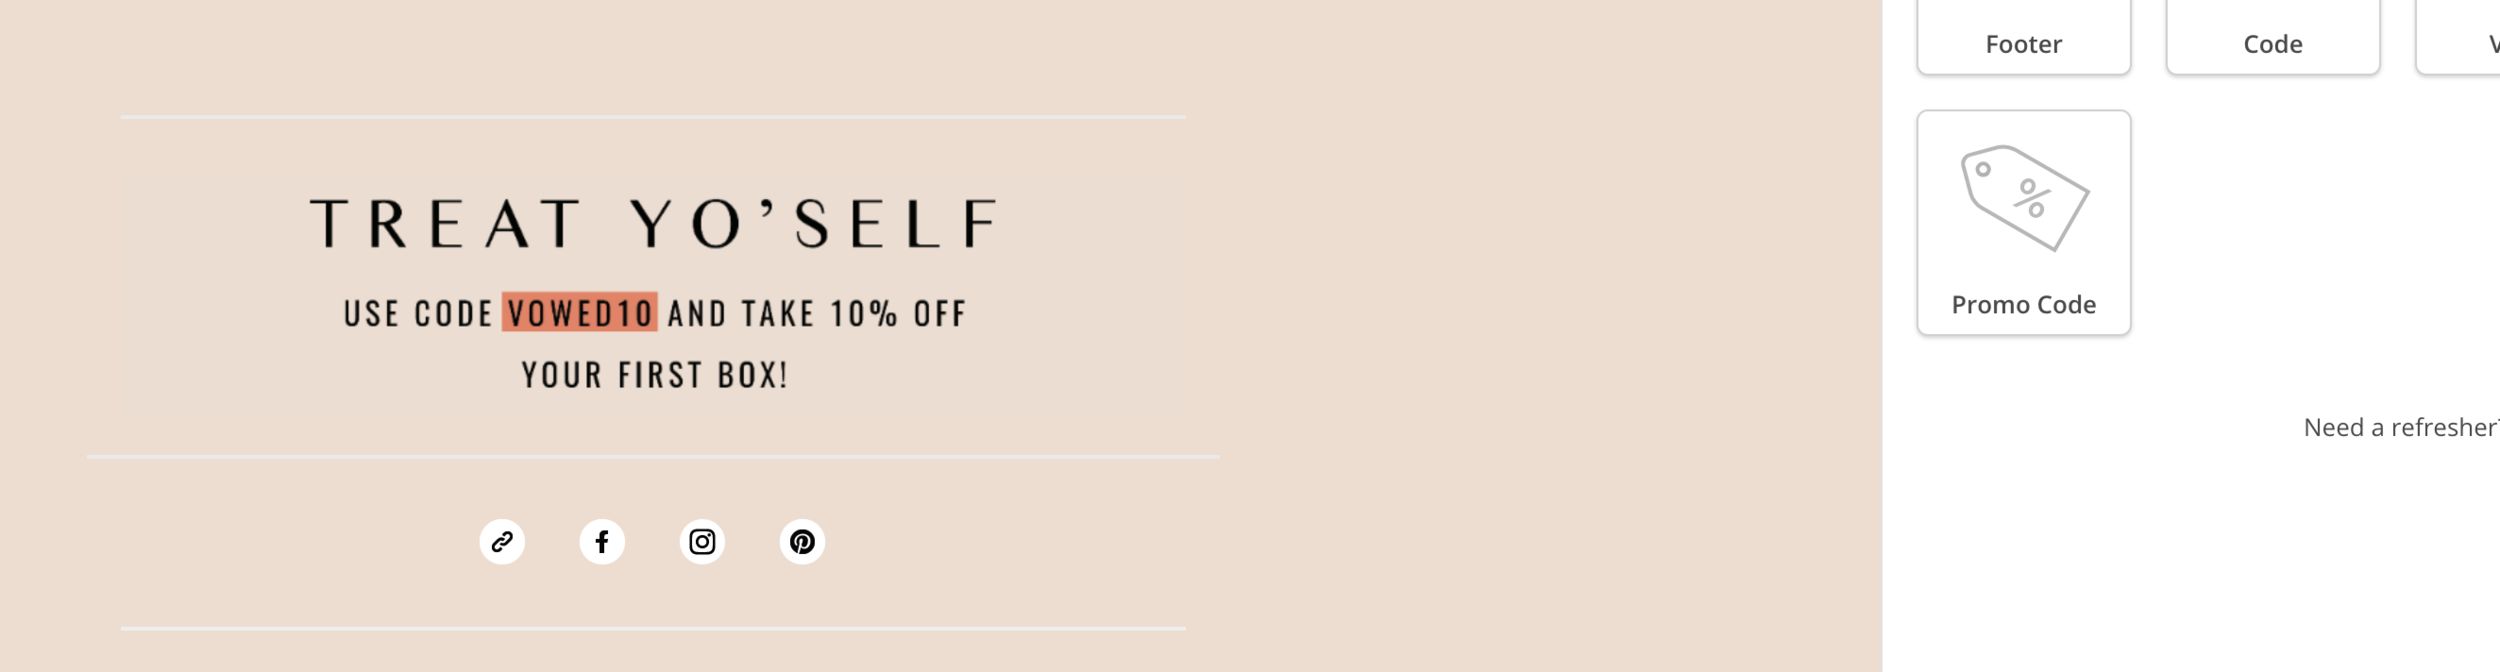
Once you're happy with the body portion of your email, create a new document and begin designing your email's footer. Keep in mind that this piece of the email should be 600 pixels wide, and not as tall as the body portion of your email. I typically size my email footers at 600 pixels wide by 250 pixels tall.
Step 3: Upload To MailChimp
As I mentioned at the beginning of this post, this guide is a workaround to designing creative MailChimp emails. So it's time to get scrappy and piece together your dream email campaign!
Log into MailChimp and select "Create Campaign," unless you have a preferred email template already saved that you'd like to work within. Select which email list you will be sending to, write your subject link and then click into the campaign builder.
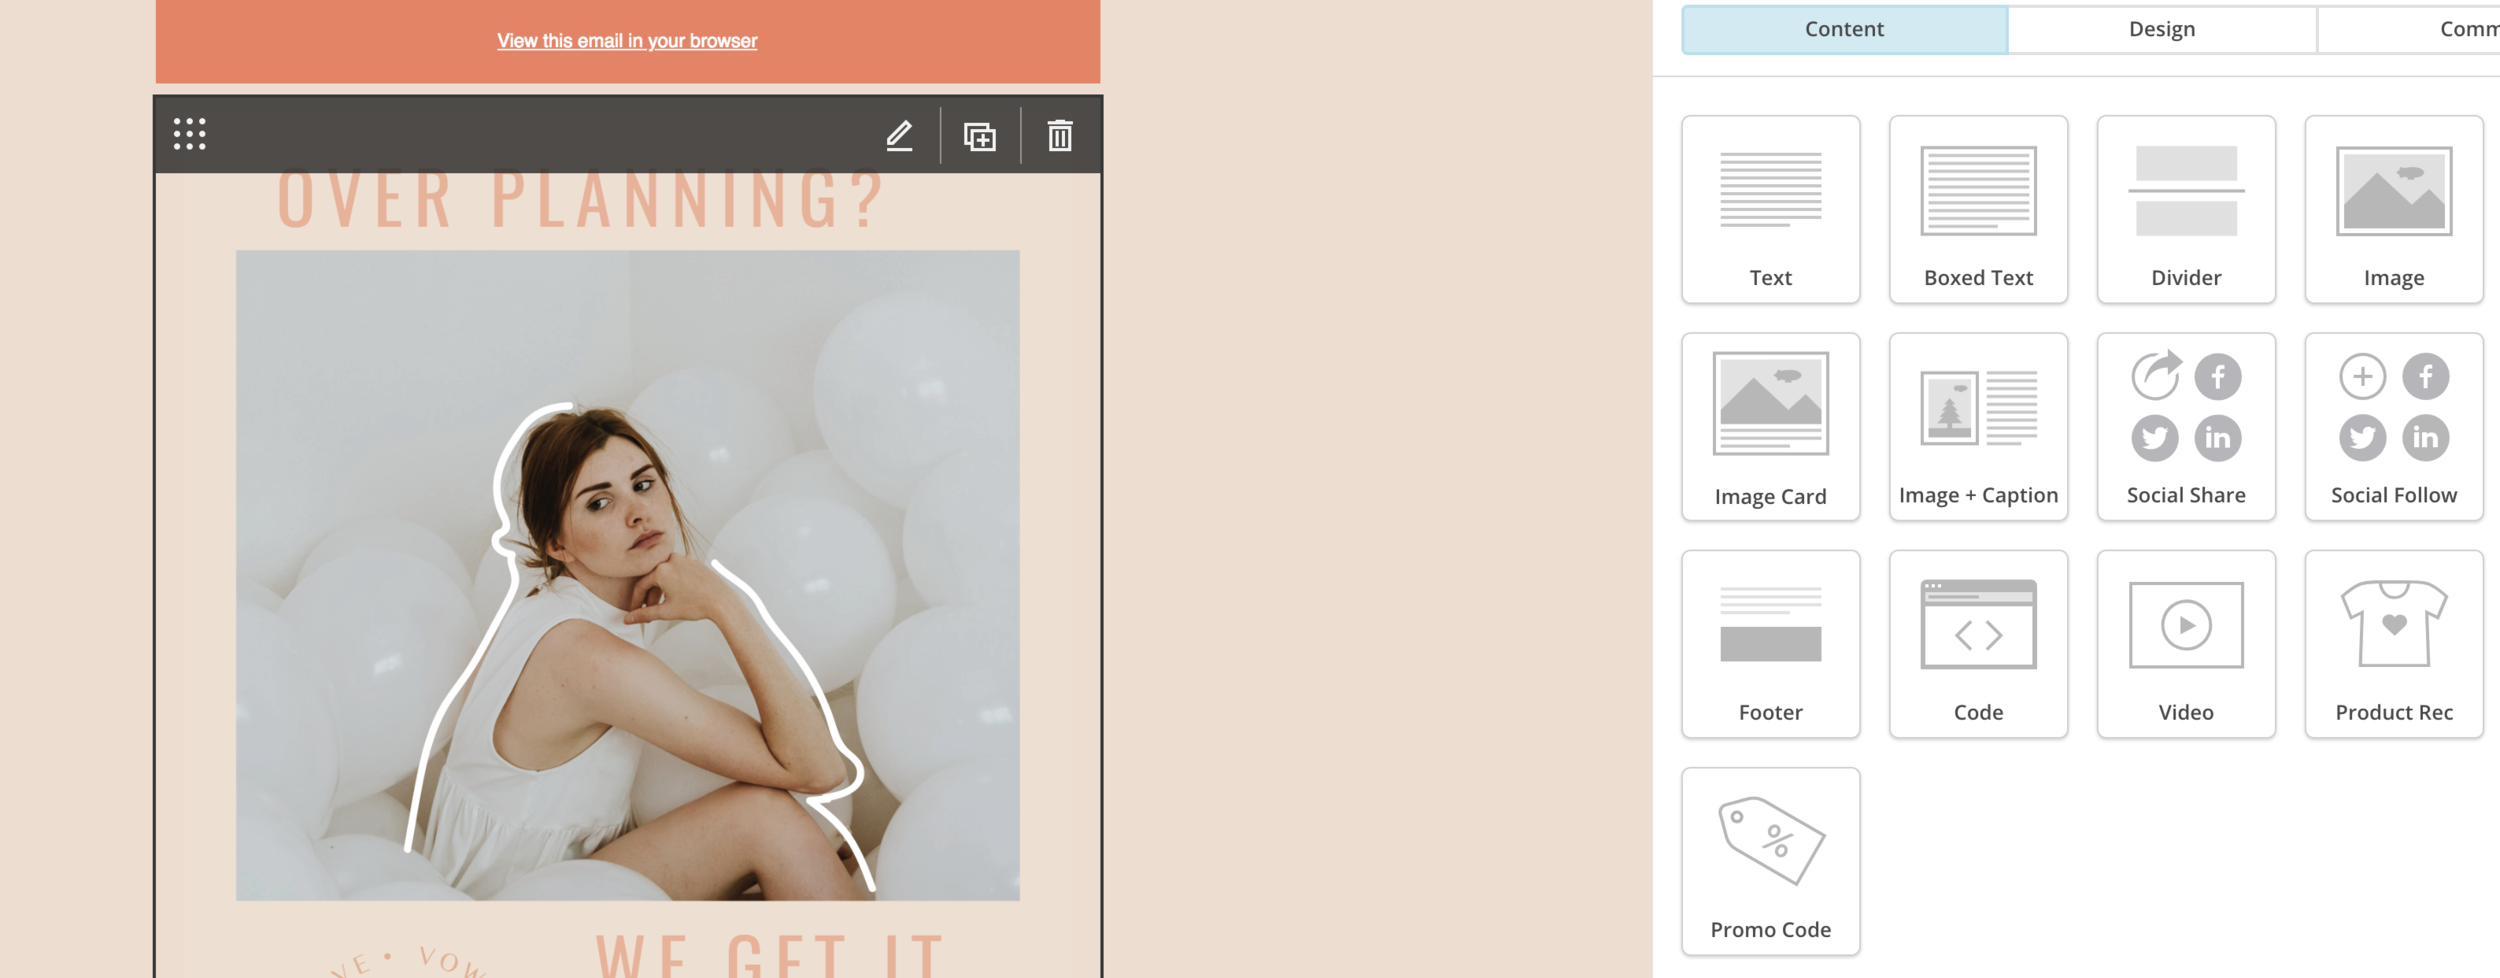
Once in the campaign builder, drop in image blocks where you would like each piece of your email creative to be, and upload each respective piece of creative. As you can see in the examples provided below, the header portion of the email is above the footer.
Step 4: Link your email, test and schedule!
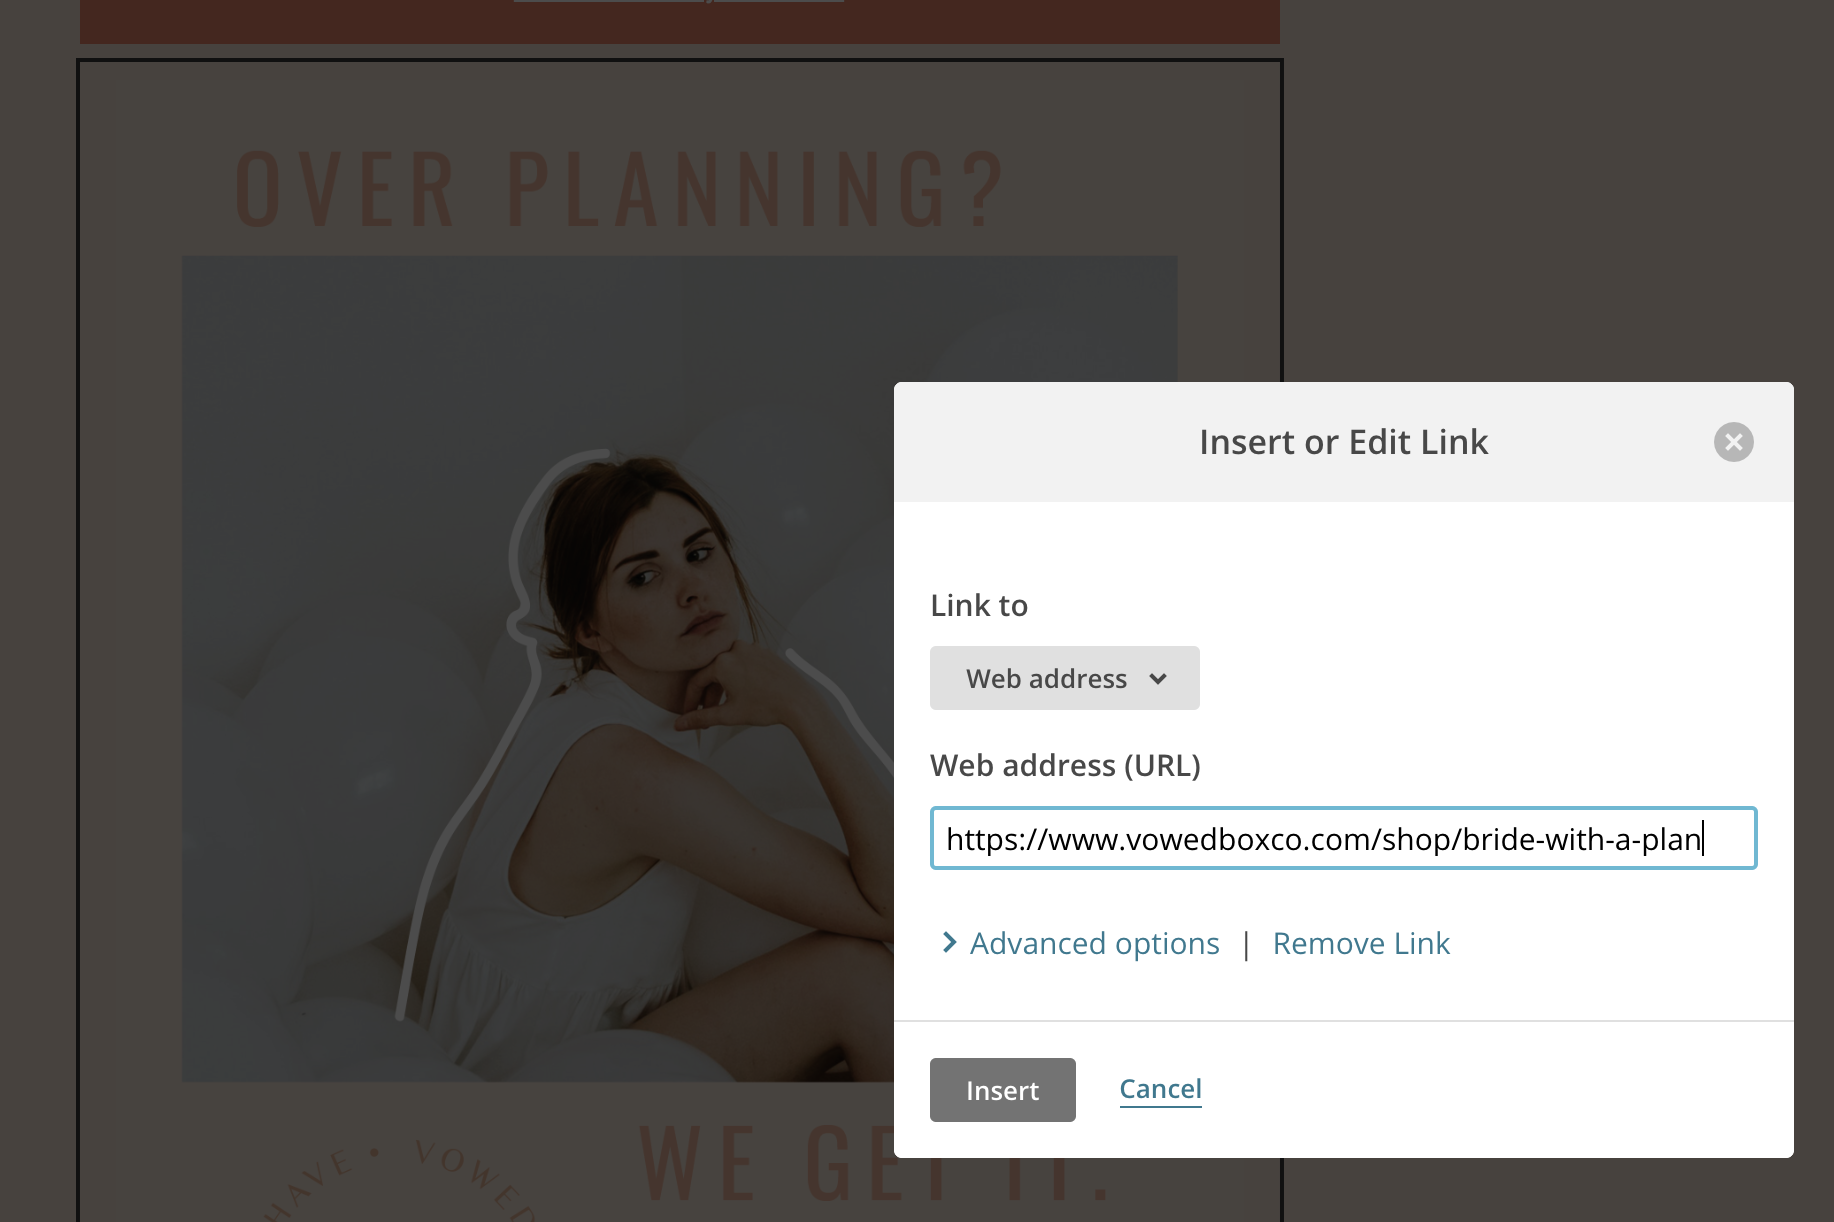
Once you're happy with the layout of your email campaign's creative, it's time to add in links. For each image block, click the "edit" button to embed a clickable link to each piece of the email:
Once all links have been added, I highly suggest sending a test email to yourself and testing all links to ensure that they aren't broken and lead to the correct destinations before wrapping up your email. Once you've tested the campaign, use MailChimp's handy scheduling tool to send it out when you'd like, and watch those opens and click-throughs roll in once it goes out!


